MFRAMECAD® allows any customers to add as many users to their account as they like. Admin users can add users and assign roles, and update and remove users from an instance of Nexa.
Adding a new user
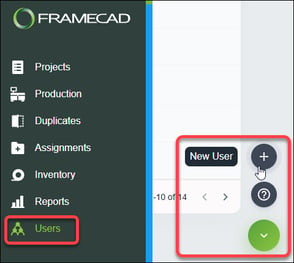
Click Users then click New User in the lower right corner of the page.
Enter user details, select one or more roles, and click Save.
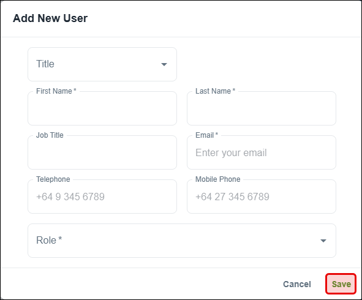
Nexa emails the user to set a password and log in. Once a user sets their password, their name is added to the Users page.
Creating roles and setting permissions
Admin users or users with Account permission can set role permissions, create new roles based on permissions, and delete roles*.
* NOTE! You cannot delete the Admin role nor change its permissions.
Click Settings, click Roles then select an role to view and select permissions for an existing role. 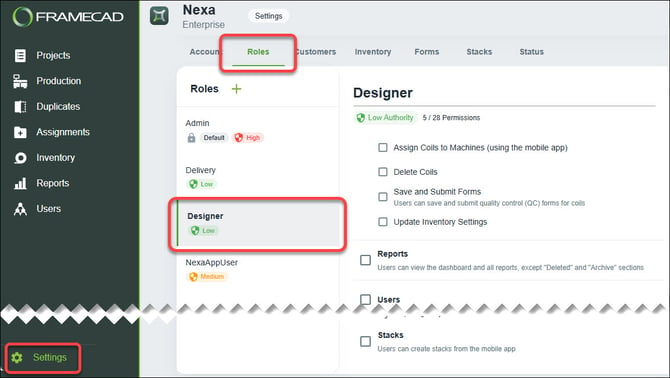
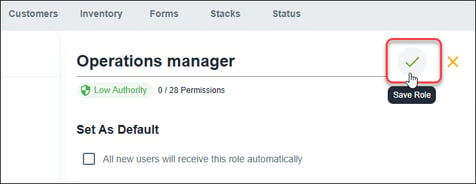
Click Create Role, enter a name, and select permissions for a new role. Select Set As Default to automatically assign the role to new users.
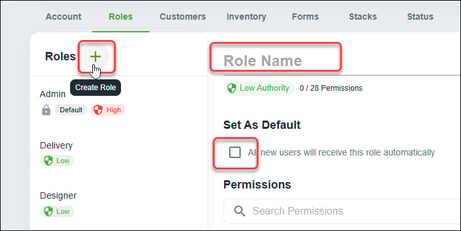
Click Save Role when finished.
Updating or removing a user
Click the pencil icon for a user listed in the Users page, then select Edit or Remove.
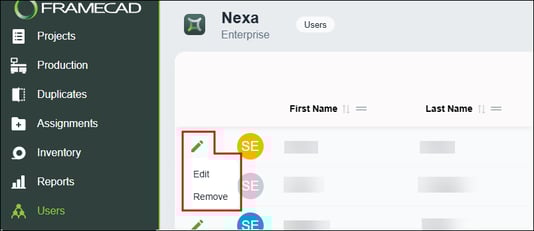
A dialog will appear. Use this to change the user's details or role or to confirm that you want to remove the user.