Every project that you manage in Nexa must include information about the organization for which you are fabricating sticks and/or assembling or installing panels. That information comes from customer records that you create in Nexa.
You can create a customer record when you create a new project. But to create and manage records independent of a specific project, you will use the Settings page.
Accessing customer settings in the Settings page
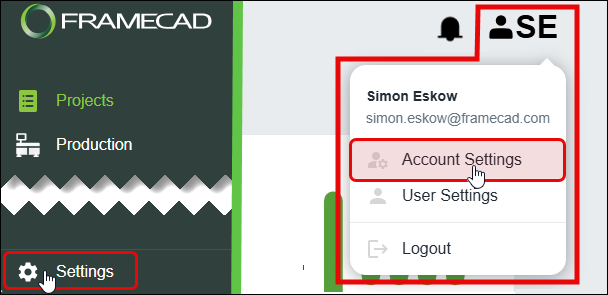
Click Settings in the lower left corner of the Nexa screen. Or click the user icon in the upper right corner of the screen, then select Account Settings.
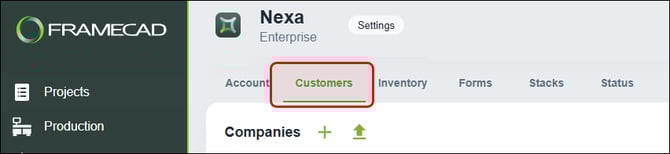
Click the Customers tab in the Settings page to manage customer records.
Creating a customer record
A customer record in Nexa includes company information and contact details for at least one person from that company.
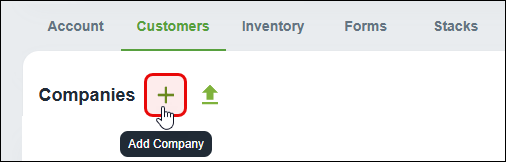
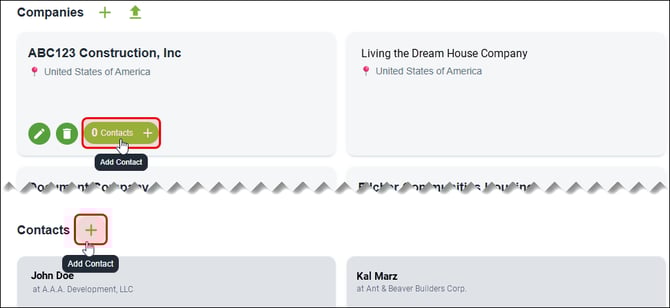
Click the Add Company button to start creating a new customer record.
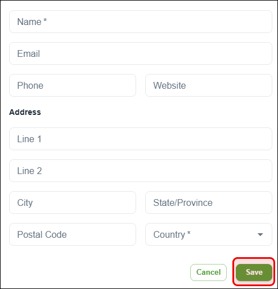
A dialog appears. Enter the company name and country (required), plus optional email, phone, website, and address details. Click Save to create the record.
You can now add a contact to the company record you created. A company record must have at least one contact to be added when creating a project.
Adding a contact to a company record
You can only add contacts to existing company records. To add a contact, hover over a tile under Companies and click Add Contact. Or click Add Contact next to the Contacts header and select a company when the dialog appears.
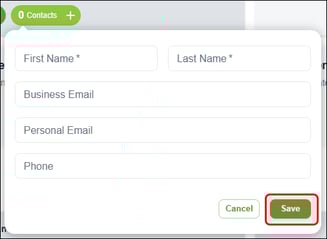
A dialog appears. (If there is a Company field, select an existing company.) Enter the contact's first name and last name (required), plus optional email and phone details.
Importing a file and creating customer records in bulk
You can save time and create multiple records at once by importing an .xlsx, .xls, .csv, or .pdf file with multiple customers' details. Your files can include both company details and
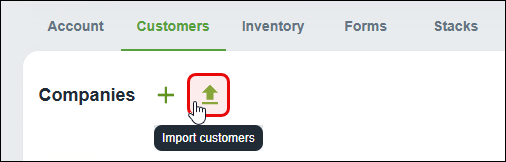
Click the Import customers button.
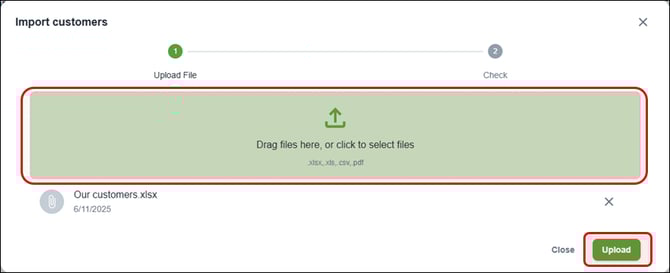
The Import customers dialog appears. In the upload section (![]() ), drag in or click to select the files you want to add. The added files appear beneath the upload section. (If you add a file by mistake, you can click its X icon to remove it.)
), drag in or click to select the files you want to add. The added files appear beneath the upload section. (If you add a file by mistake, you can click its X icon to remove it.)
Click Upload to import companies and contacts from the added files.
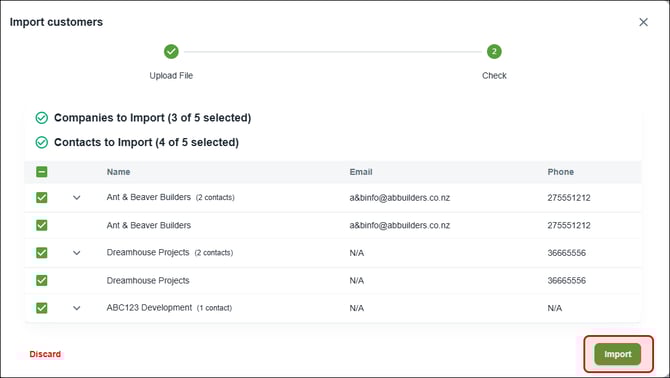
Nexa will match data from your file(s) to corresponding customer record fields. The more records in the files that you upload, the longer it may take to process. After Nexa processes the files, the Import customers dialog displays the companies and contacts that you can import.
Review the companies and contacts (see below for more info) and click Import when ready.
Reviewing data: de-selecting items, fixing validation errors
Click a checkbox to de-select a company or contact that you do not wish to import. Click a field to add data that is missing from a required field (i.e., company country, contact first name, contact last name). Nexa will display a validation error if it detects data missing from a required field.
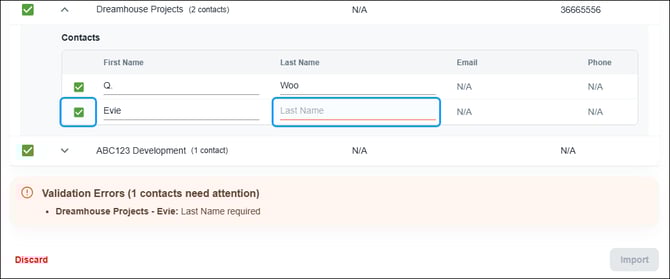
Click Import when ready.
Nexa prevent you from importing until you fix or de-select any items with validation errors.
Editing and deleting companies and contacts
Hover over a tile under Companies or Contacts. Click the pencil icon to update company or contact details. Click the trash icon to delete the company or contact, then in the dialog that appears, click Delete to confirm.
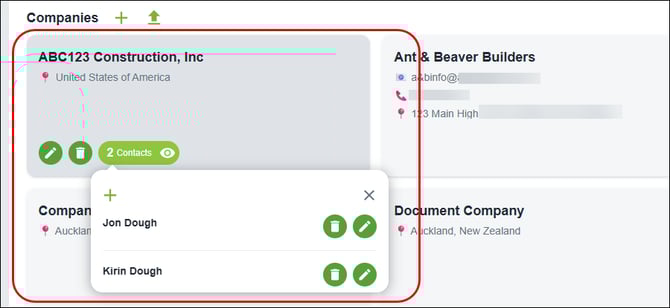
Deleting a company will automatically delete all its contacts.